How to Make Double Brick Stitch And Fringe Earrings
Are you looking for a fun and creative way to add some new jewelry to your collection? Look no further than brick stitch and fringe earrings! These stylish accessories are easy to make and can be customized to fit any personal style. In this post, I'll walk you through the steps to create your own unique earrings, using either Miyuki Delica, Toho or Preciosa beads.
First off, I have to mention that I have YouTube tutorials available to guide you through the process. Watching these tutorials is a great way to get started, and you can find them on my channel.
Now, let's dive into the materials you'll need for making brick stitch and fringe earrings. The key ingredient is, of course, beads! You can use Miyuki Delica, Toho or Preciosa beads for this project, depending on your preference. Miyuki Delica beads are often the most popular choice because they are consistent in size and shape, which makes it easier to achieve a neat and professional-looking finish.
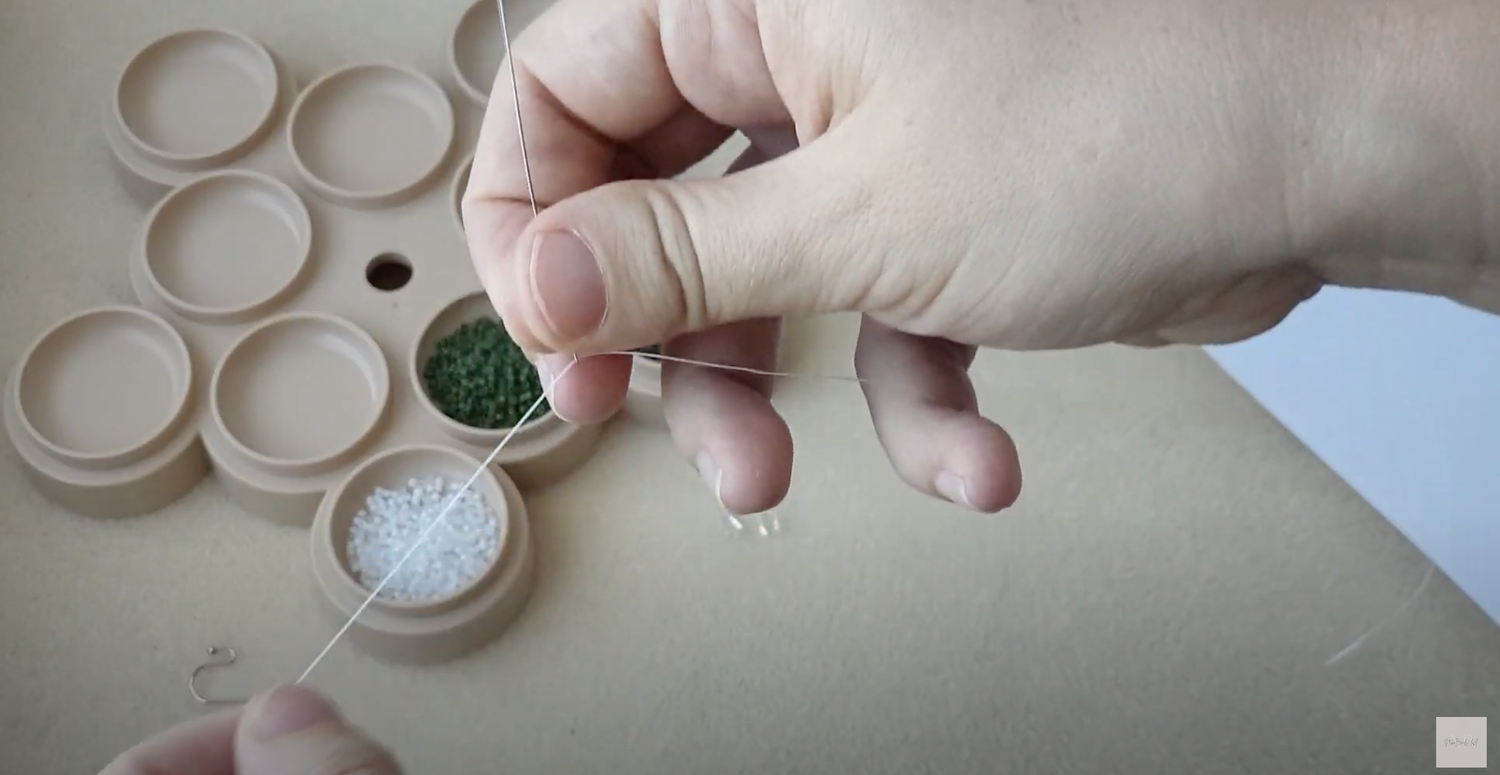
In addition to beads, you'll need a beading needle (I use Pony, they have great quality/price ratio), beading thread (Nymo D or any other strong nylon thread), and some earring hooks. You might also want to consider using beading mats to keep your work organized and tidy.
Where to buy this stuff? You can find craft shops in your city, or you can order them on Amazon.
Now, you’ll need a pattern. Please note: all patterns and designs you find on Pinterest, Instagram or elsewhere in the Internet are someone’s intellectual property. It’s never a good idea to take someone’s design without paying the credit. For example, we at NikoBeadsUA create the beading patterns and expect people to buy them. We’re totally okay if you use our patterns to sell the finished earrings, but it’s not okay to resell the patterns or to copy the designs without paying. But! We have 1 FREE pattern available for you to try the brick stitch technique and decide if you’re ready to continue. Subscribe to our email list to get the free Monstera earrings PDF.
Once you have all your materials and a pattern ready, it's time to start making your earrings! Here's a quick overview of the process:
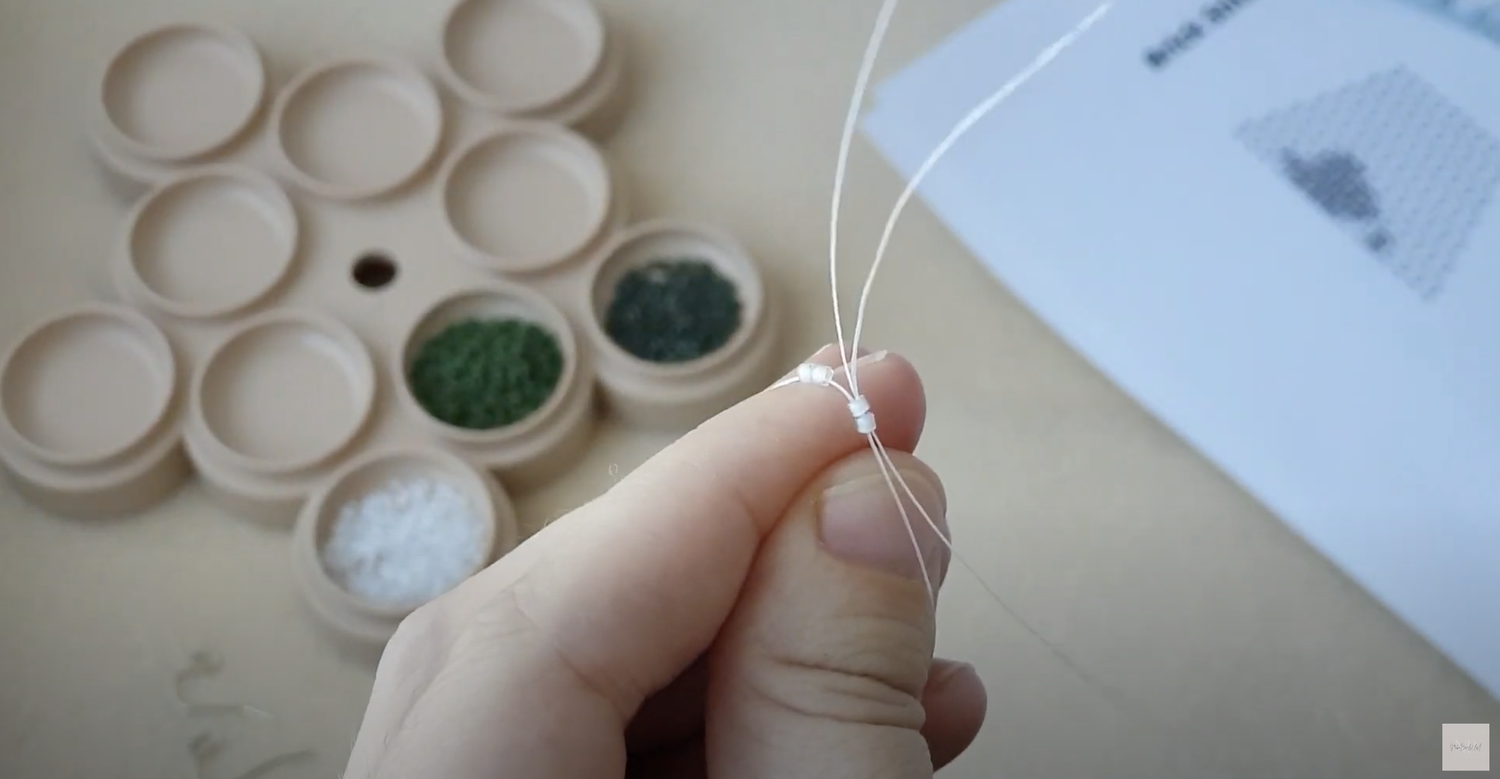
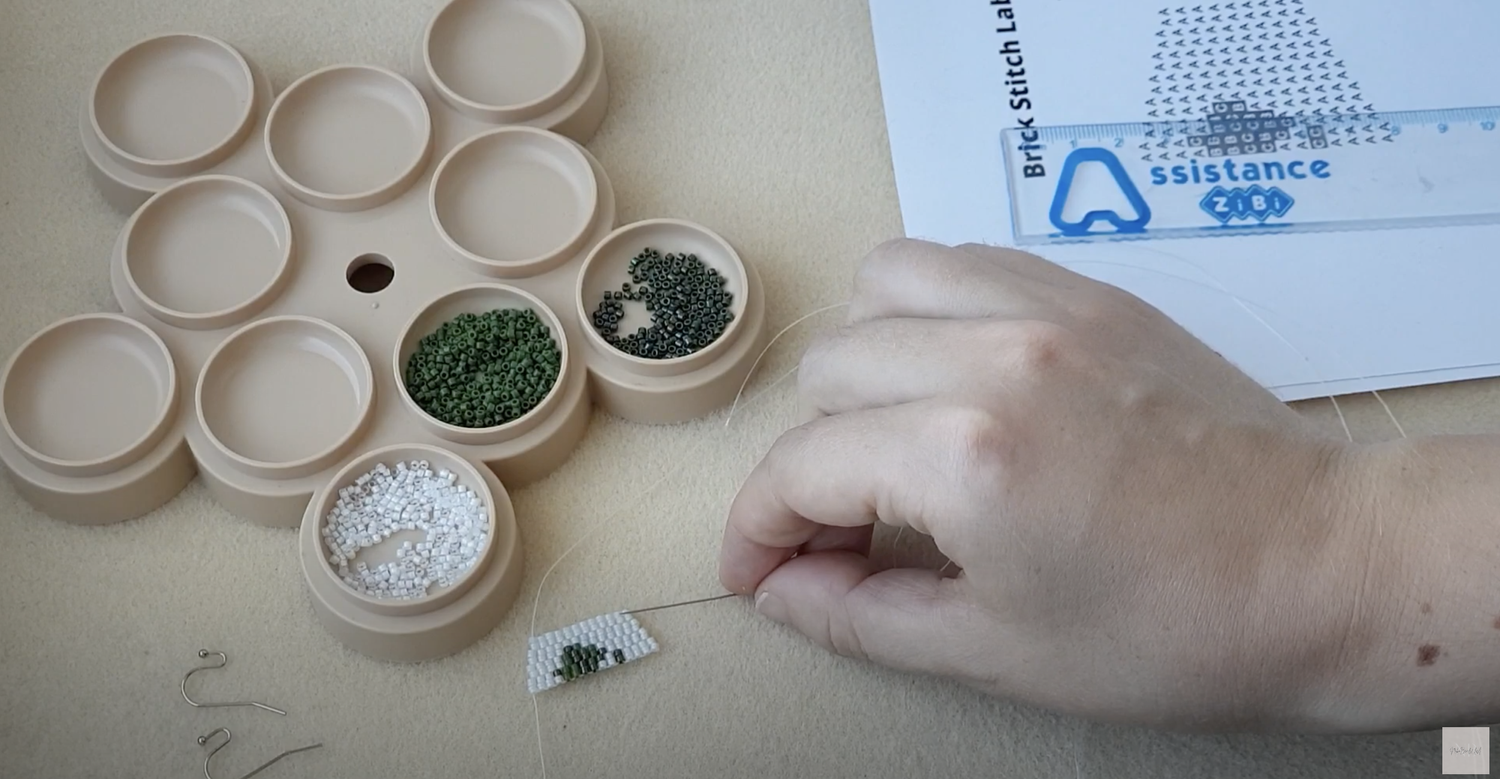
1. Cut a long piece of beading thread. The length depends on your preference, you can either cut a really long one and deal with it, or you can cut it shorter and add another one later. I prefer the loooong one :) Also here’s my lifehack: I start beading from the center of a long thread, leaving a half of it for adding fringe later.
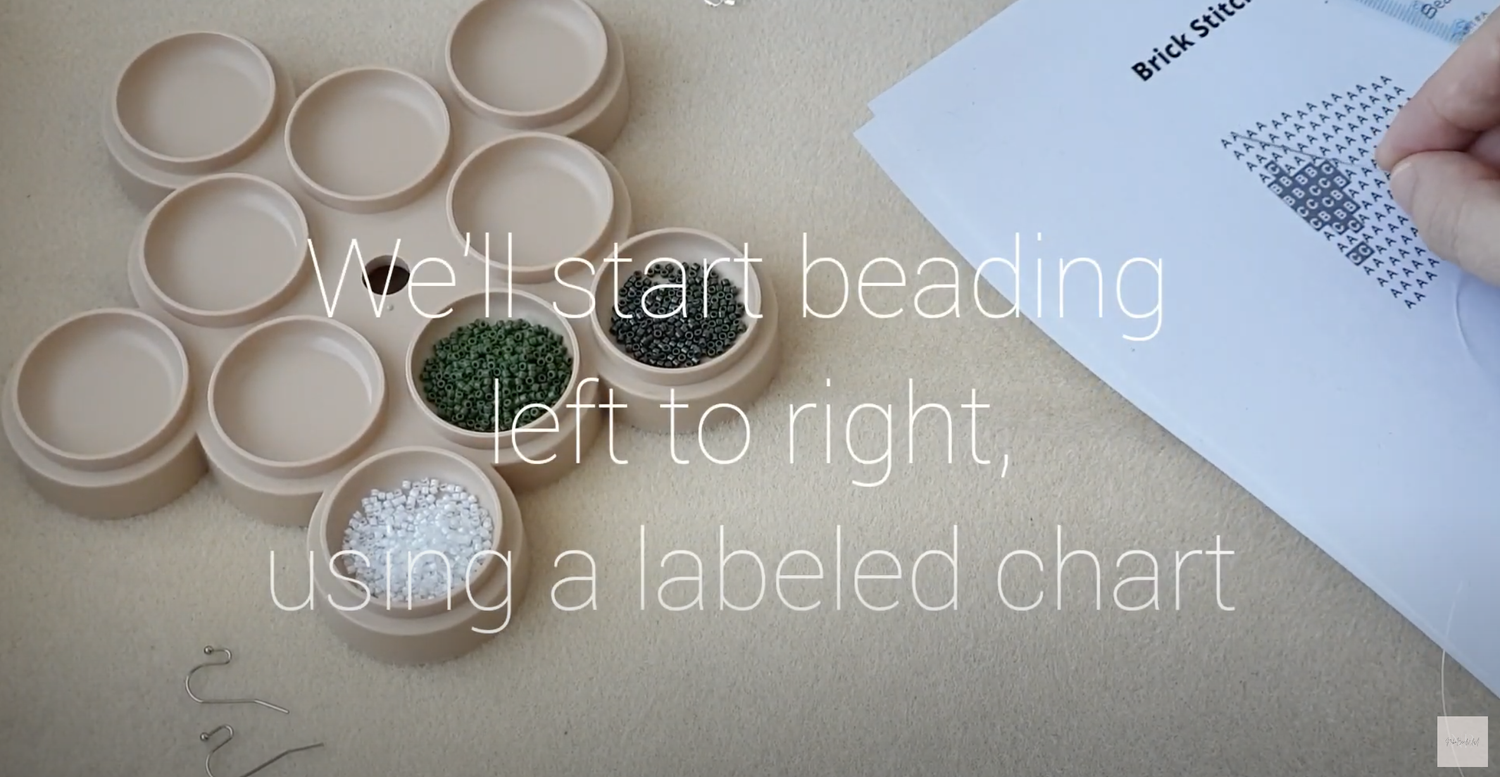
2. Start following a pattern for the brick stitch part from the bottom left. If you’re a beginner, start with the patterns with simple single-color brick stitch tops, just to get a sense of what’s going on. Zodiac patterns are a good example. Monstera leaf doesn’t have a solid-color top part, but it’s not too complicated either. I’m using it for this tutorial.
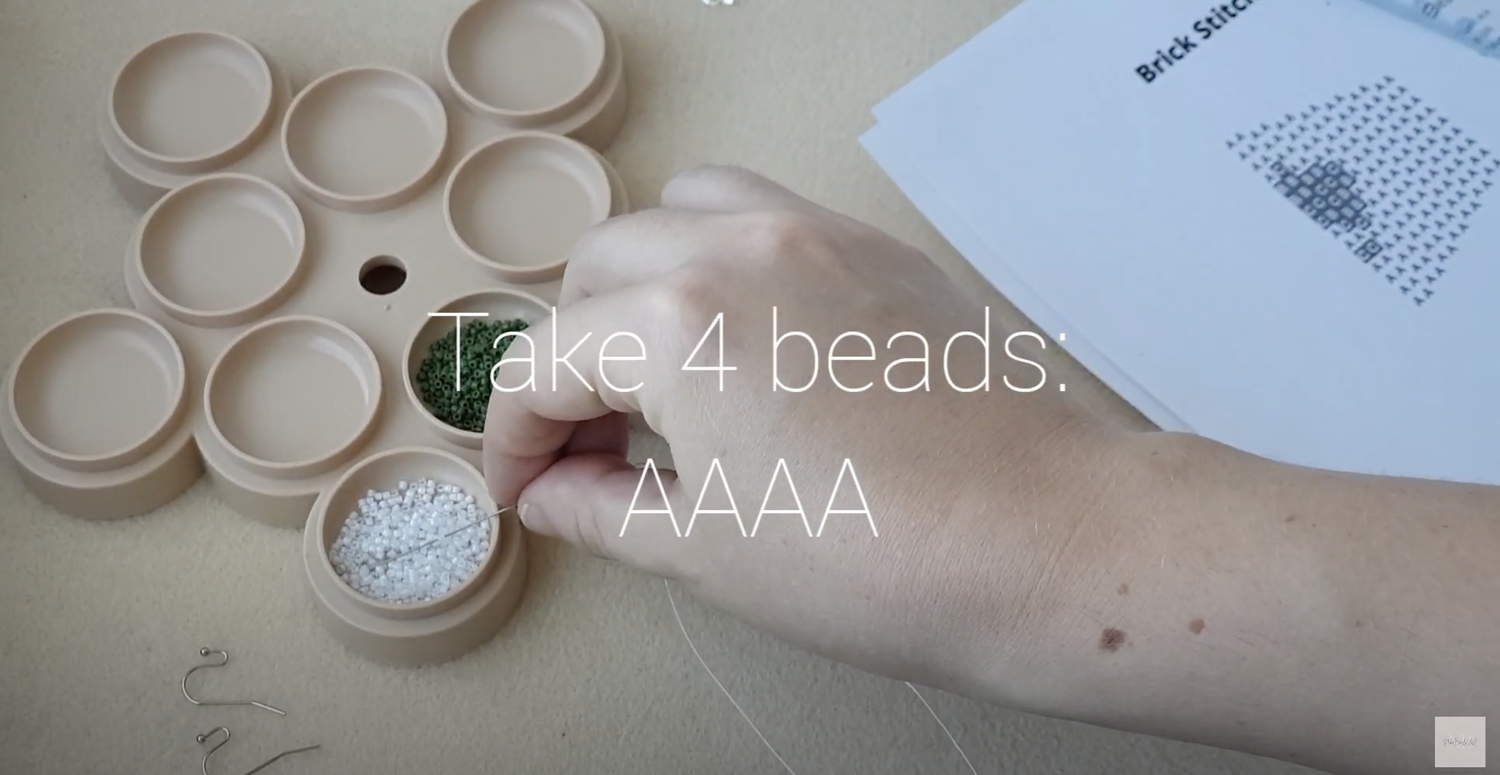
3. As we can see, the first 4 beads in the left bottom part are all white. White is A in bead legend, so we’l take 4 A beads.
4. Now here’s a tricky part. Form a loop of these 4 beads and pull the needle through the first 2 beads again.
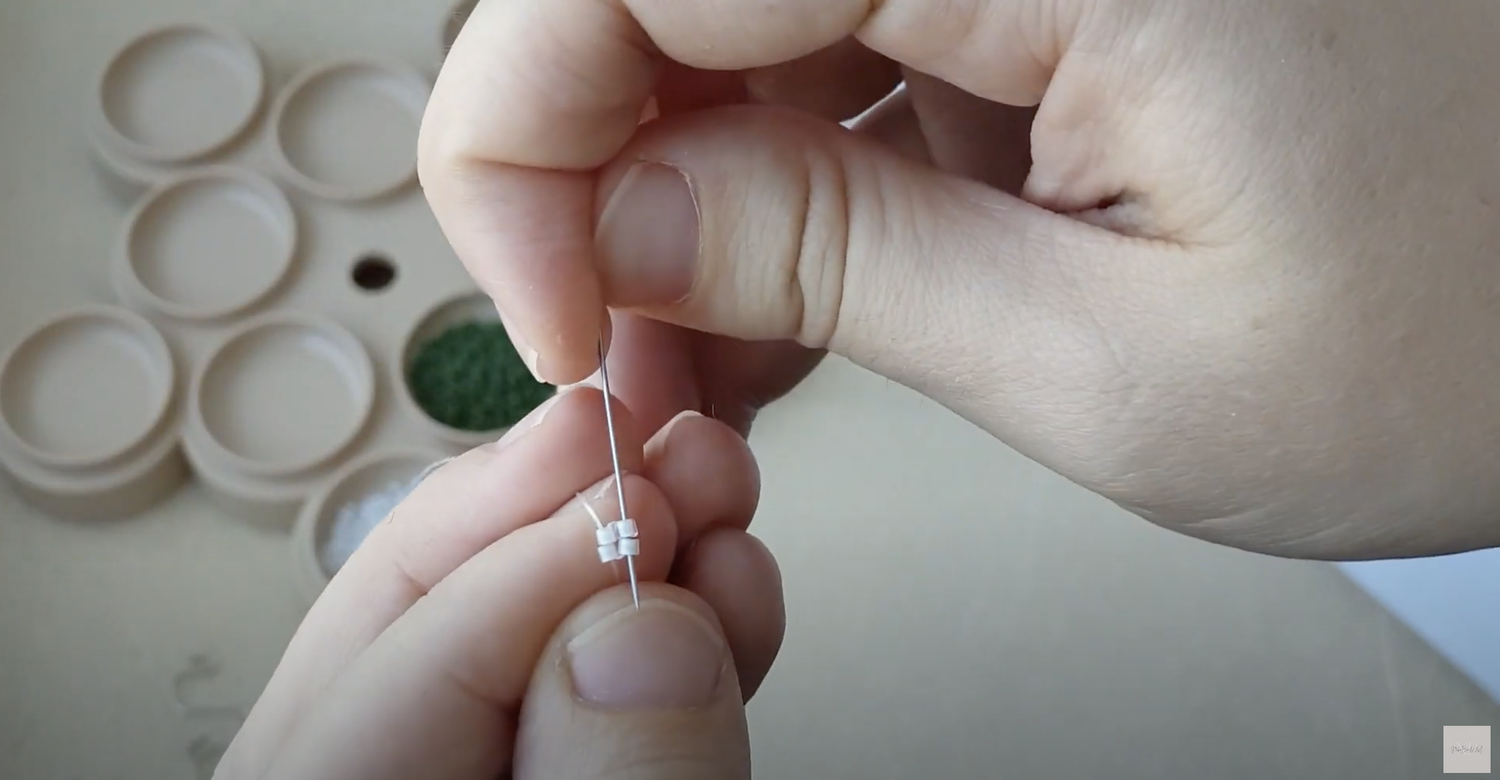
5. You’ll get a nice square made of these 4 beads. Make sure they fit tight to each other.

6. Now pull the needle DOWN through the third and fourth beads. Your square will remain its shape. Pull the needle through the beads. You can repeat steps 4-6 again to make the square more tight, I didn’t do it this time.
7. Take 2 next beads, in our case they are white (A) again. Pull the needle DOWN through the beads 3 & 4 again.

8. Pull the thread tight and you’ll get a nice row of 6 beads. Pull the needle UP through the beads 5 & 6.

9. Pull the thread tight. Take the next 2 beads: color C (dark green) and A (white). Pull the needle UP through the beads 5 & 6.

10. And again DOWN through beads 7 & 8.
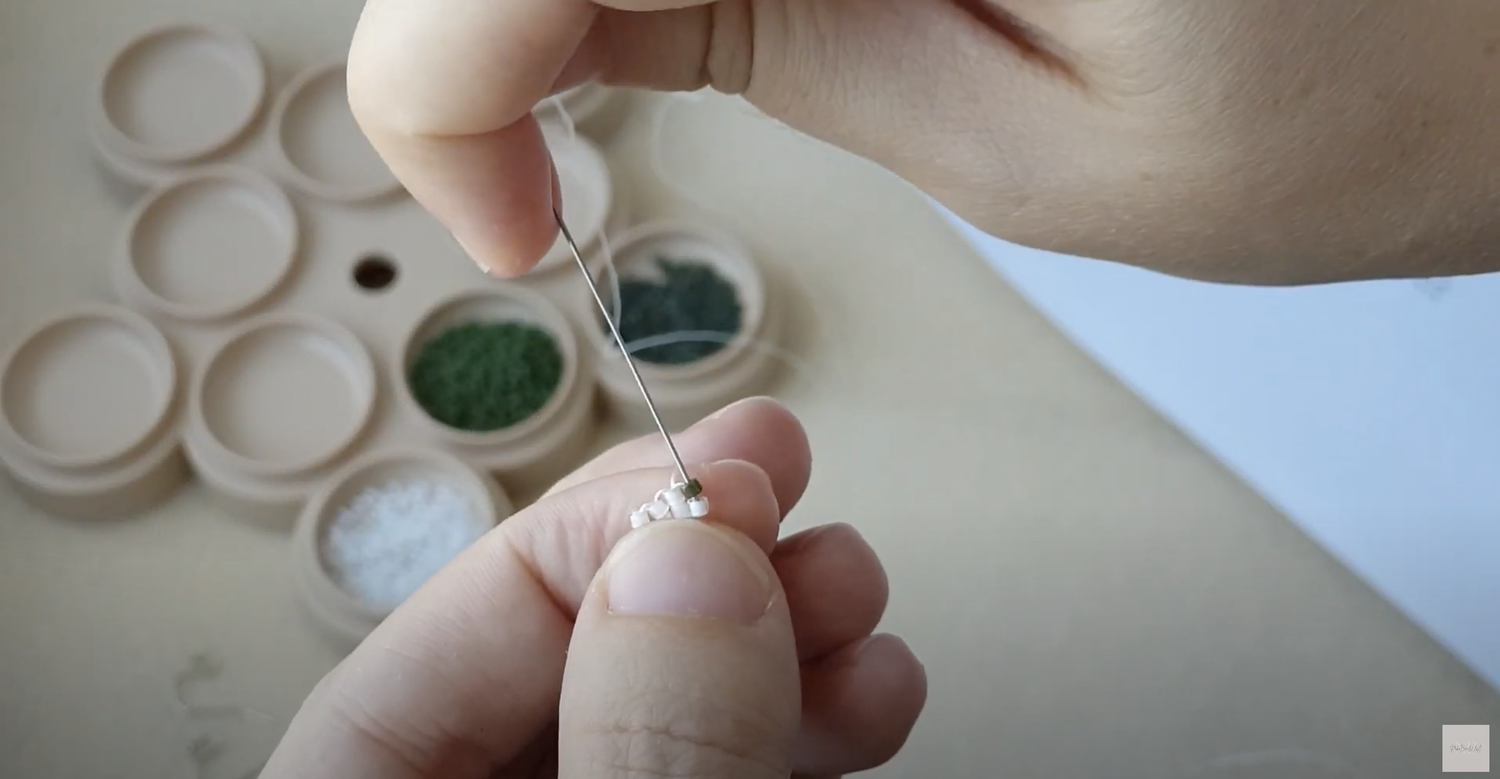
11. Repeat these up and down motions till the end of row 1.

12. Row 2: working from right to left. Take 4 beads from the right part of row 2 - they’re all white (A). See, I picked a neat pattern for you to start :)
Tricky part again: pull the needle under the THREAD between the beads as shown here:
13. Pull the needle UP through the closest 2 beads (let’s call them left beads). Then DOWN through the right 2 beads. And again UP through the left beads.

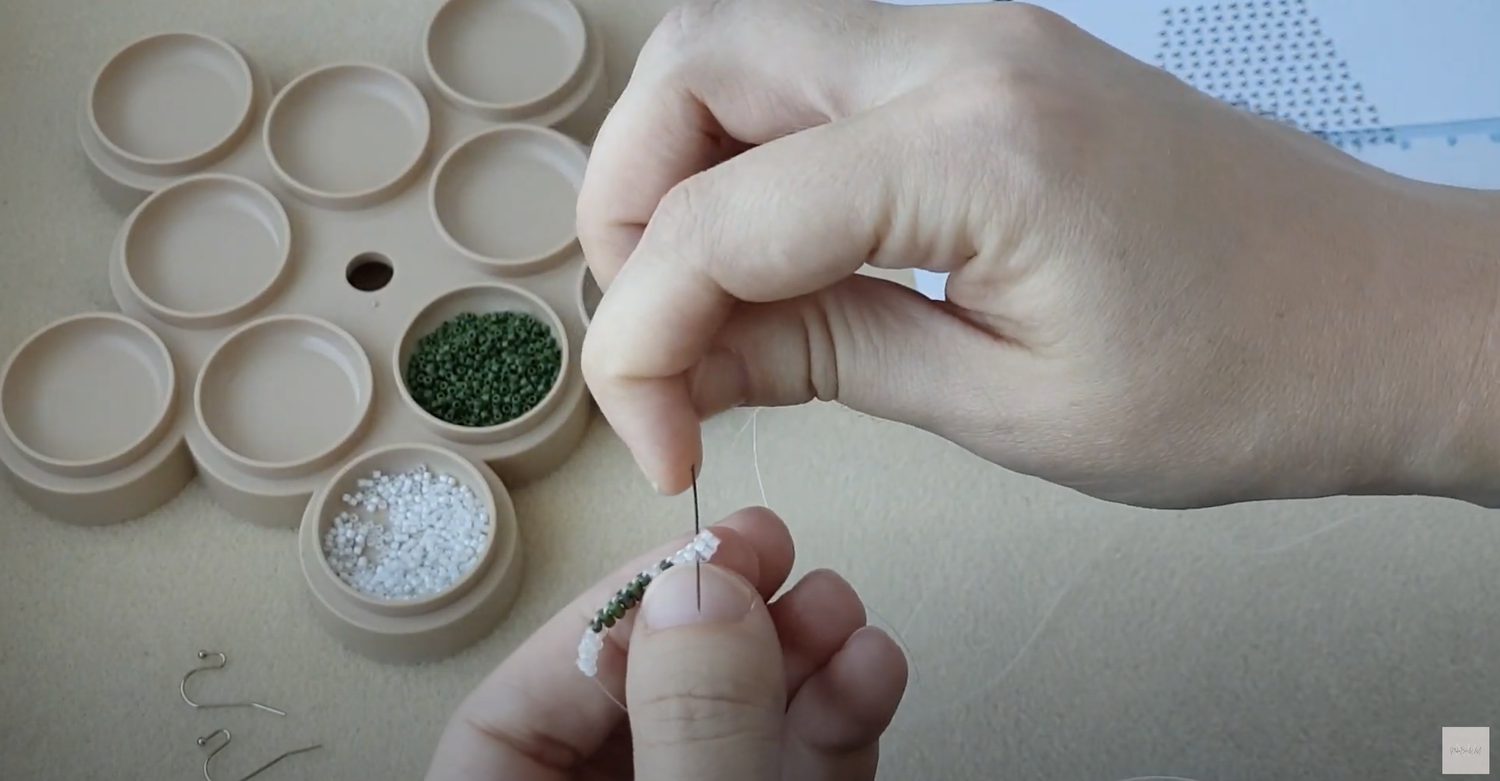
14. Continue adding beads in this manner until your row is complete. Pull the needle under the thread of a previous row, pick 2 beads, pull the needle up through them.

15. For row 3 you’ll work left to right, for row 4 right to left and so on.
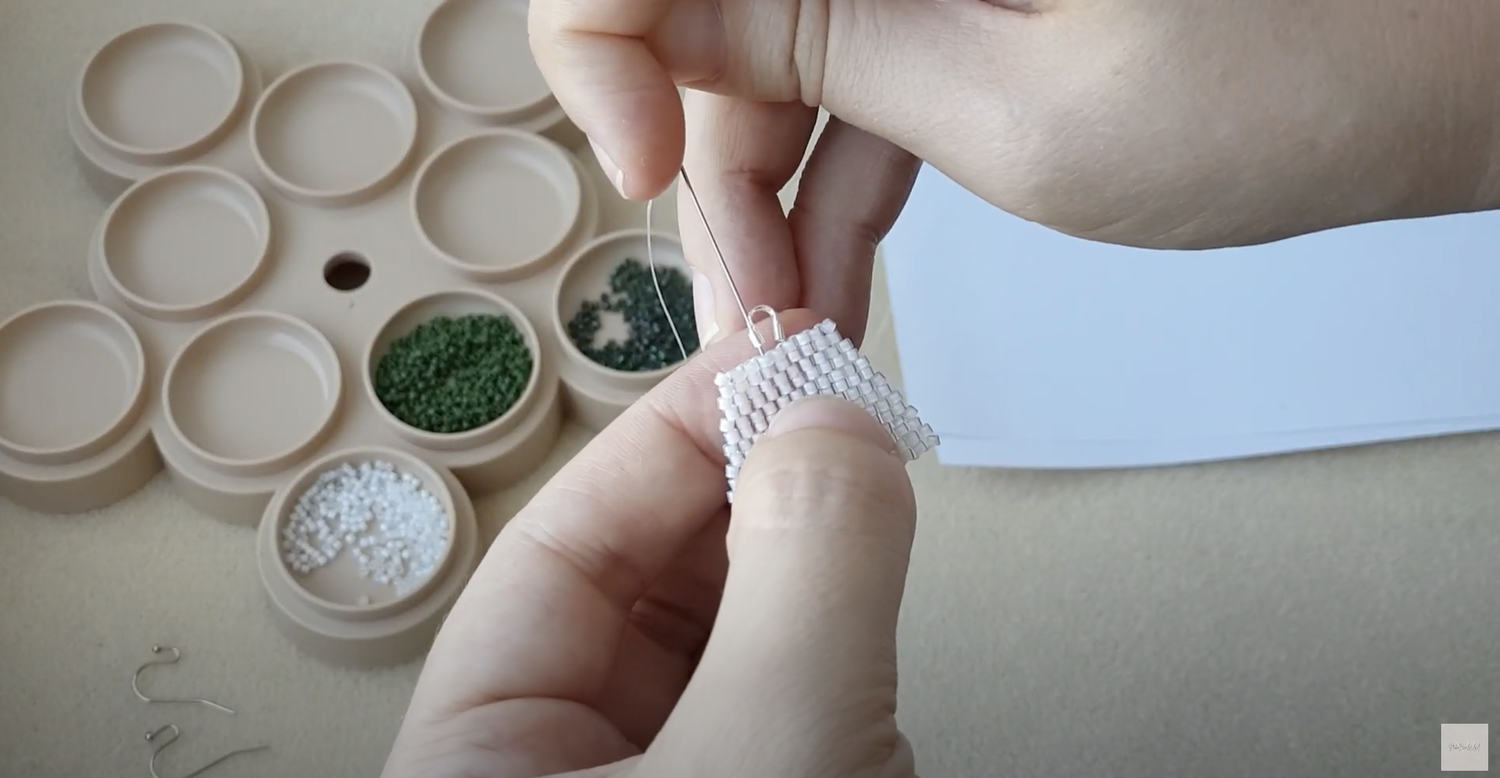
16. Once you reach the end of brick stitch part, it’s time to add either a wire protector (my preference), or a loop of beads to hold the hook. The principle is the same. You need to lead the needle through a few previous rows to the center of the upper row.

17. Secure a thread 2-3 times through the wire protector or a bead loop.
18. Lead the thread to the top right beads and then pull the needle through the whole right edge.
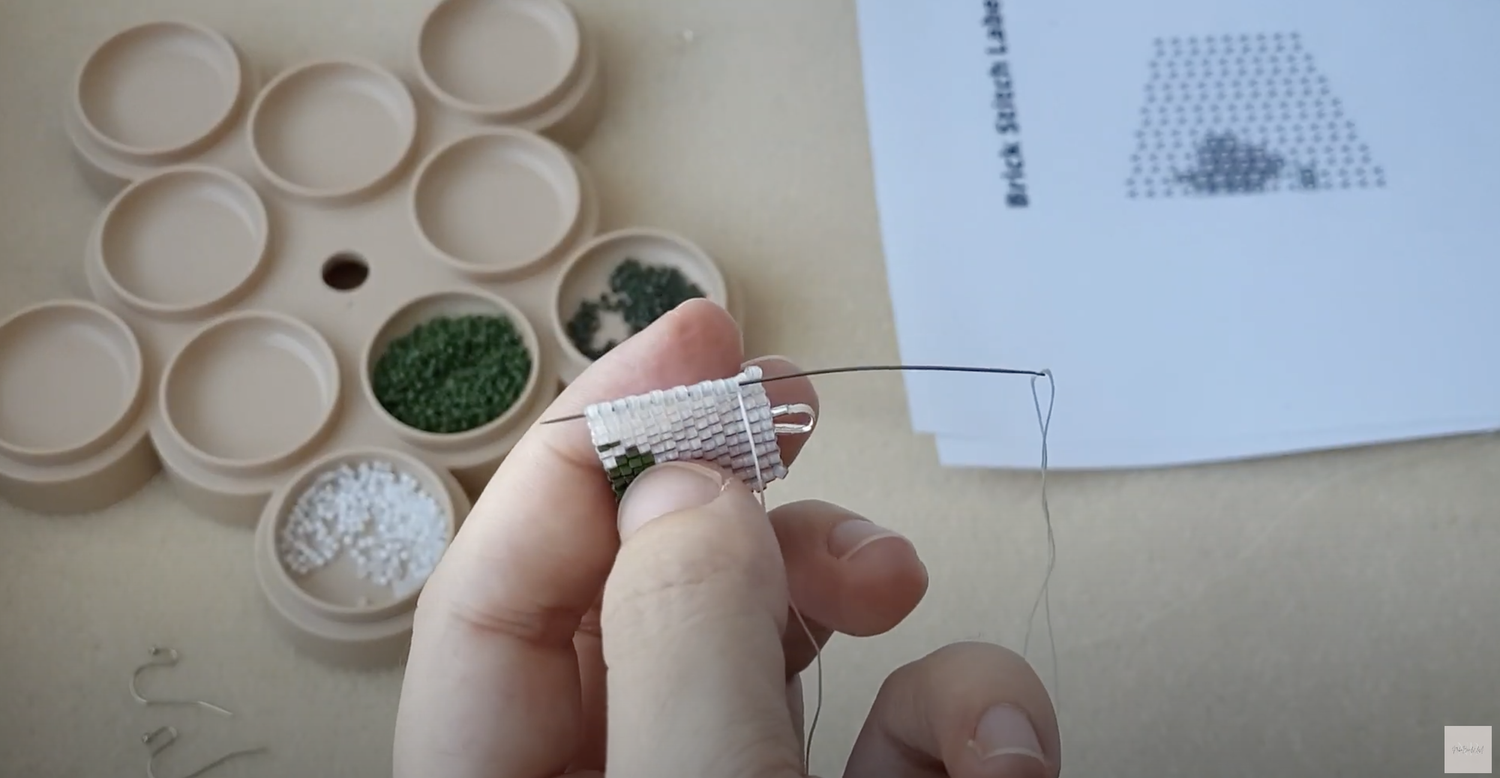
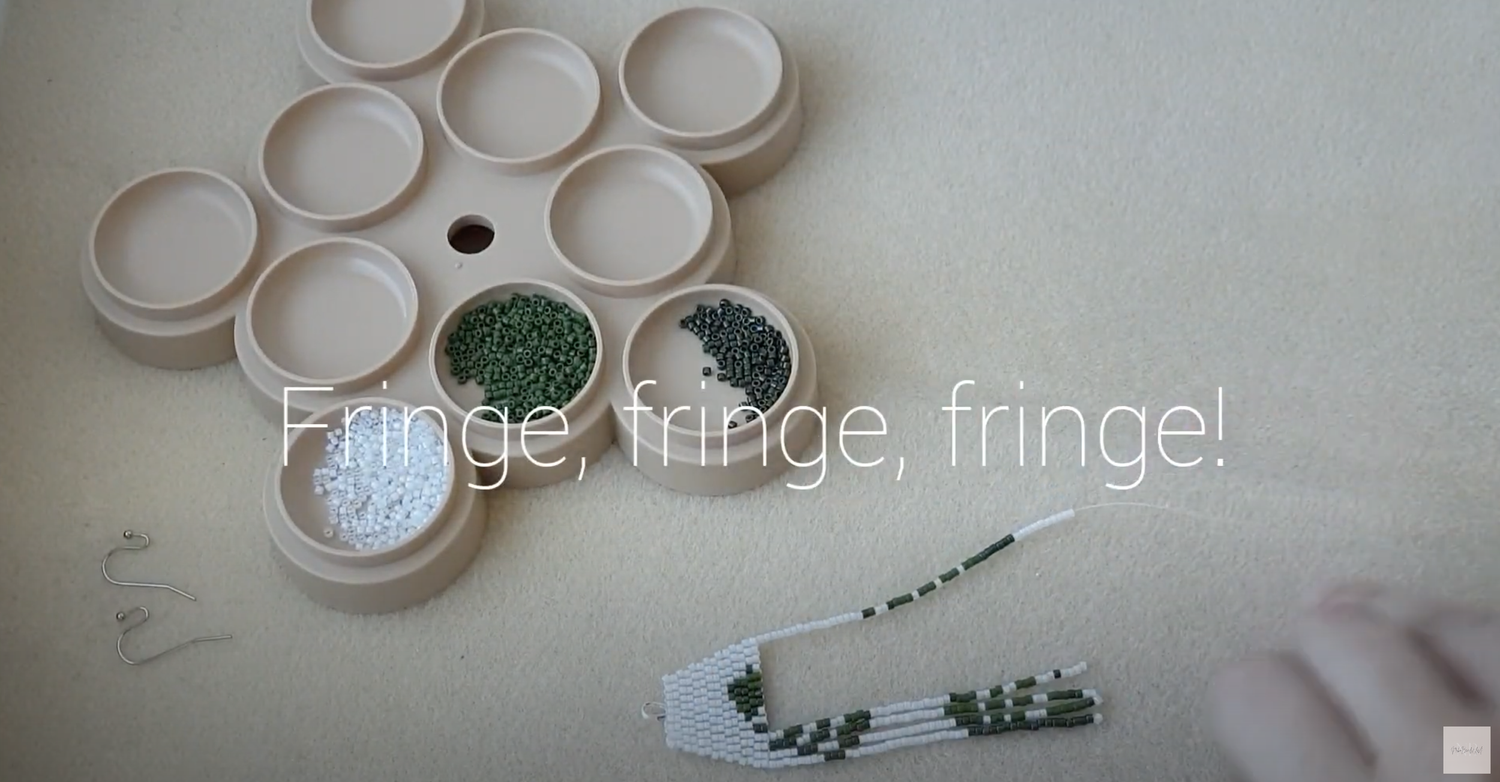
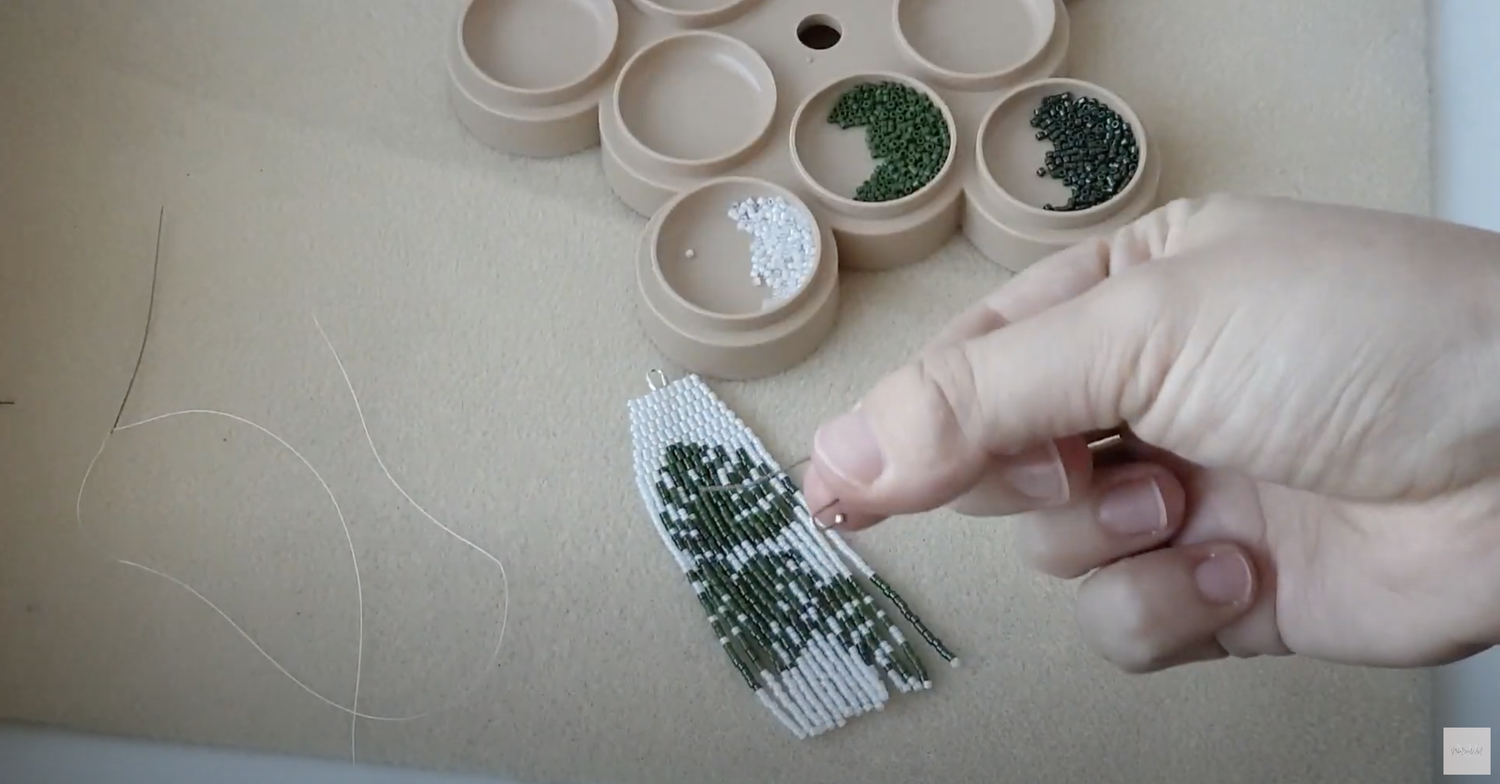
19. We’re done with the brick stitch part! To add fringe, simply string the beads from the pattern onto the thread and loop back through the last bead in the row.

20. Pull the needle UP through the 2 beads of the brick stitch part and then DOWN through the neighbouring ones.
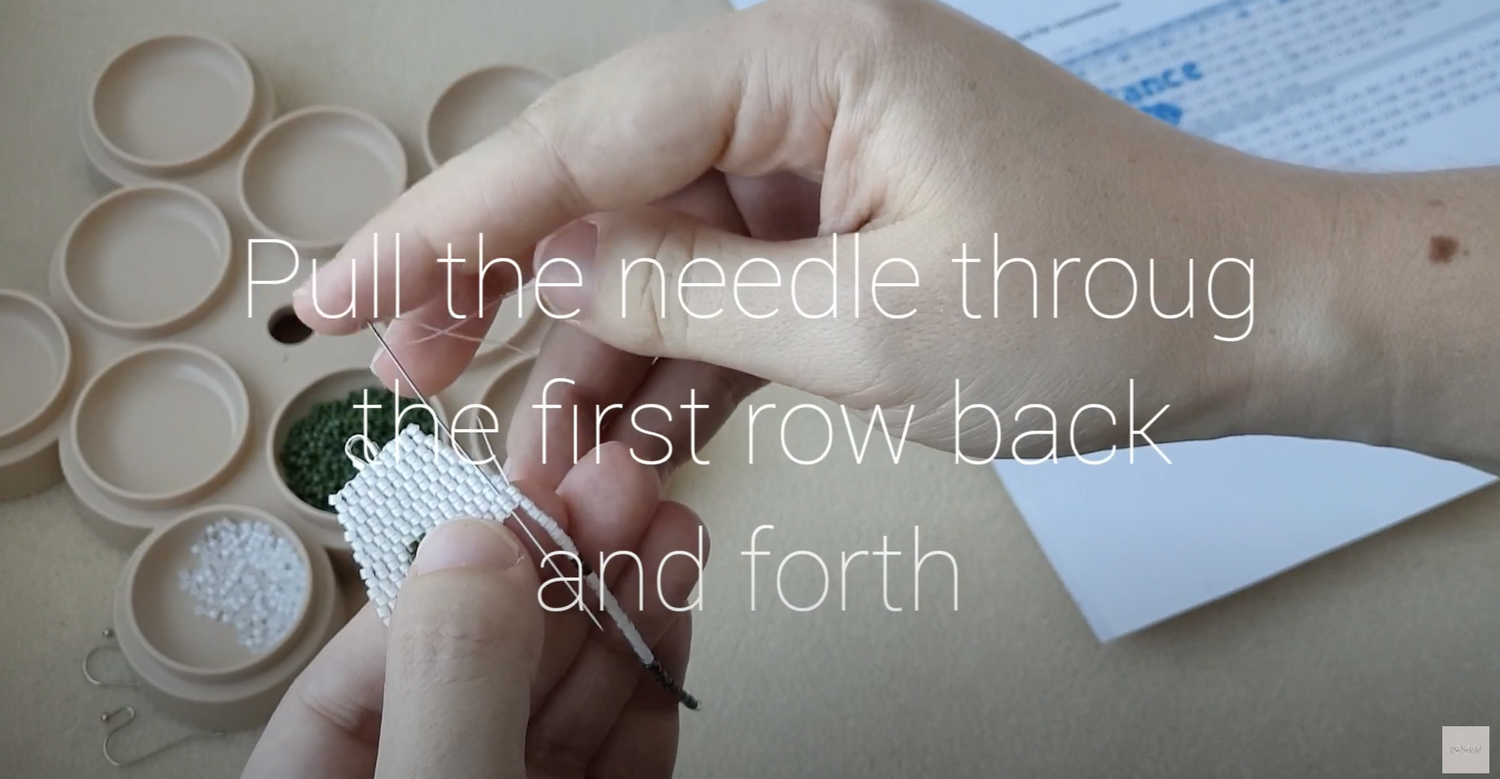
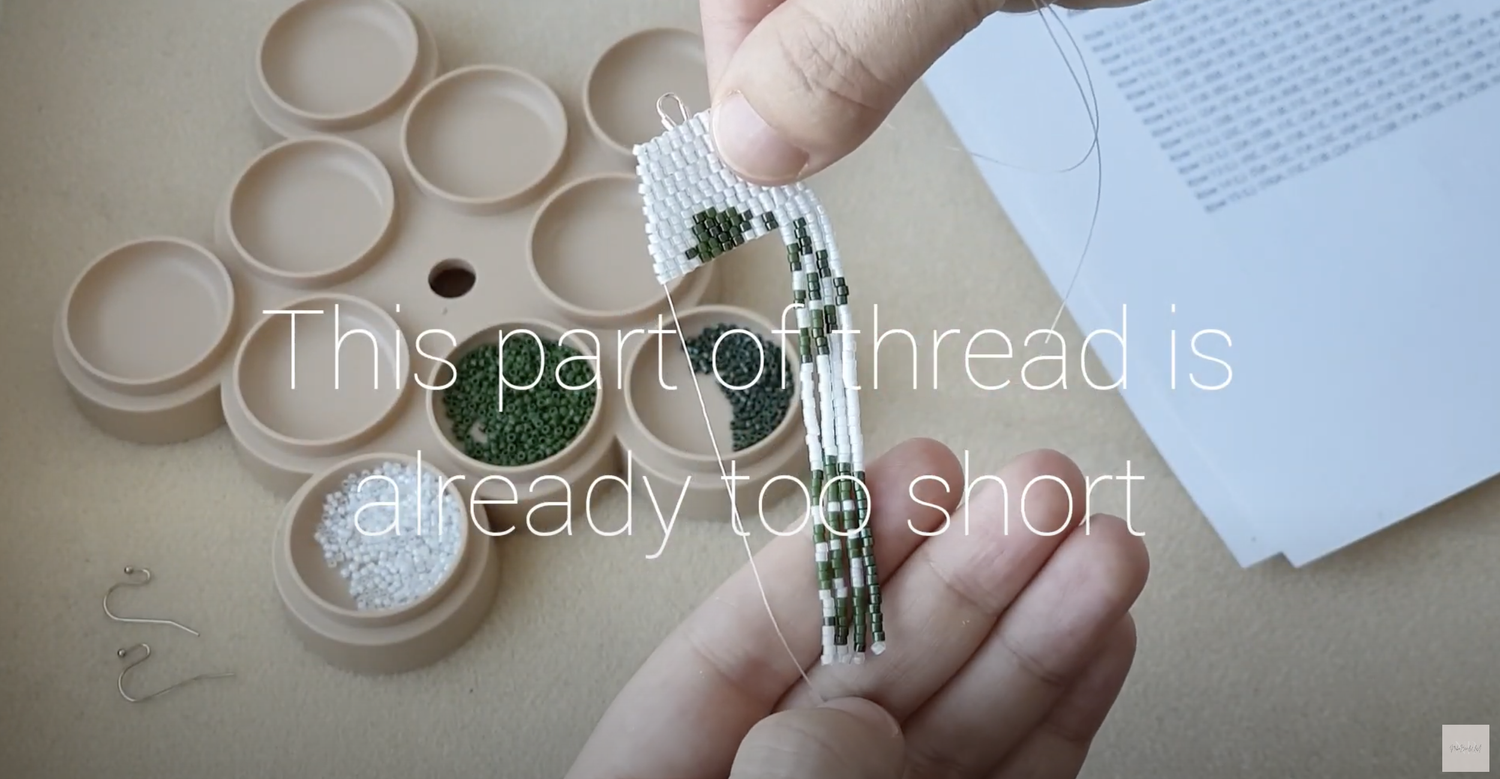
21. Continue adding fringes until your thread gets too short. Then secure it by weaving it back into the brick stitch part. Hide through as many beads as you feel secure enough, I usually go through 12-16 beads at least.
22. Now use the long piece of thread we’ve left at the very beginning to make the remaining fringe.
23. Weave in the thread, cut it as close to beads as possible.

24. Add earring hooks and tada-a!
25. Ooh, and don’t forget to make the second earring :) If you’re like me and you’re bored of making two exact same things, we have a whole lot of asymmetrical earrings patterns, where left and right earrings compliment each other and make a masterpiece picture together!
It's worth noting that there are many different variations of brick stitch and fringe earrings that you can create, depending on the size, shape, and color of your beads. I have a lot of patterns available for Miyuki Delica beads, but you can experiment with different types of beads and colors to achieve your desired look.
One important thing to keep in mind is that while you can sell the earrings you make using these patterns, you cannot sell the patterns themselves. So, feel free to make and sell as many earrings as you like, but don't redistribute the patterns themselves.
In conclusion, brick stitch and fringe earrings are a fun and easy DIY project that can be customized to fit any style. With a few simple materials and some basic beading skills, you can create a unique and eye-catching accessory that you'll love to wear. Be sure to check out my YouTube tutorials and patterns for even more inspiration and guidance! And if you decide to make something using our patterns, tag me on Instagram - it’s @nikobeadsua, I perform a happy dance each time I receive your pictures :)

Nataliya Timoshina
Founder of NikoBeadsUA - a small business that focuses on providing unique digital beaded jewelry patterns and tutorials. Started this journey in 2019 as a handmade beaded jewelry maker on Etsy and then transitioned to digital patterns.

